|
Main Menu
|
|
|
|
My 2007 4Runner
|
|
|
|
|
|
|
|
|
|
|
|
|
*New*
|
|
|
|
|
|
|
|
|
|
|
|
|
|
|
|
|
|
|
|
*New*
|
|
*New*
|
|
|
|
|
|
|
|
|
|
|
|
|
|
|
|
|
|
|
|
|
|
|
|
|
|
|
|
|
|
*New*
|
|
|
|
|
|
|
|
|
|
|
|
|
|
|
|
|
|
|
|
|
|
|
|
|
|
|
|
|
|
|
|
|
|
|
*New*
|
|
*New*
|
|
*New*
|
|
|
|
|
|
|
|
*New*
|
|
*New*
|
|
*New*
|
|
*New*
|
|
|
4Runner History
|
|
|
|
Other
|
|
|
|
|
Concept:
Brake fluid is hygroscopic. This means that it readily absorbs water from the atmosphere. The water content in the brake fluid will lower it's
boiling point and cause corrosion. Additionally, brake fluid can become contaminated by microscopic particles of rust and rubber which promotes
abnormal wear on brake components like calipers, wheel cylinders, master cylinder and anti-lock brake system components. Changing your brake fluid
about every two years will mitigate these concerns.
Types of Brake Fluid:
Brake fluid is a type of hydraulic fluid. Since it is not compressible it can be used to transfer force into pressure.
Brake fluid sold in North America is classified by the U.S. Department of Transportation (DOT) under their own rating system. Toyota 4Runners come with
DOT 3 fluid. You can use DOT 4 fluid as well. DO NOT use DOT 5 fluid as it is not rated for use in ABS vehicles. DOT 5 is silicone based
and is non-hygroscopic (does not absorb water), it's boiling point is higher as well. But again, you cannot use this in the 4Runner.
The boiling point is significant as brake fluid becomes hot while braking. If the fluid reaches the boiling point it will vaporize. Since vapor is a gas
it compresses and braking effectiveness will be diminished. As the water content increases in the brake fluid over time, the boiling point will become
lower. In cold weather, brake fluid with a high water content is very viscous causing slow pedal response and requiring more effort.
Boiling Points for brake fluids that can be used in the Toyota 4Runner can be seen in the following table.
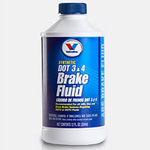
Valvoline
DOT 3 & 4
Synthetic Brake Fluid |
For this flush, I have chosen to use Valvoline's DOT 3 & 4 Synthetic Brake Fluid.
It exceeds DOT 4 specifications. The dry boiling point is 503°F and the wet boiling point is 343°F.
You can view the data sheet
for further specifications. It is priced at $6.99 for a 32 ounce bottle. You will need two 32oz. bottles for the 4th generation 4Runner.
This is much cheaper than Toyota brake fluid and it is higher rated.
Brake fluid bleeding tool:
As you now know, flushing your brake fluid system on a regular basis will help to prevent costly repairs to the brake system components due to
contamination and corrosion as well as help to keep the boiling point high as possible.
I recommend the Motive Products
one man brake bleeding system when it comes time to flush the brake fluid. I have owned one for the last 10 years and it has served me well over that time period.
For the 3rd (1996-2002) and 4th (2003-2009) generation Toyota 4Runners, you will need Motive Products Round Universal Bleeder #0101.
This item comes with the Round Universal Adapter #1101, which will fit various vehicles with brake fluid reservoirs that use a round cap smaller than
3.0 inches across.
When using the universal adapter on 4Runners with vehicle skid control (2001 and up), the reservoir is too large to secure the universal adapter to
maintain adequate pressure to flush and will need modification to be used properly. The universal adapter works by tightening itself down onto the
reservoir cap until a seal is formed. It gets tightend down using a chain that wraps underneath the master cylinder.
You need to create your own adapter from a piece of wood so that the mounting point for the chain is extended further outward. Also, you need to get a
longer chain. 2 feet of chain works well.
To create this custom adapter, cut a piece of wood 12" long, 4" wide and 3/4" thick. Using a spade bit or hole saw drill a 1" hole in the center.
Remove the clear pvc hose from the universal adapter by prying off the factory clamp. You will need a replacement automotive type hose clamp that
tightens with a screwdriver as a replacement. Hold the universal adapter on the underside of the wood and mark where to drill the two holes that will
mount the adapter to the wood. Drill 1/4" holes where you marked. At this time also drill 2 more 1/4" holes, 1" in from each end of the wood,
these will be used to hold the j hooks with wing nuts. You will have noticed how the universal adapter did not sit flush to the wood as there is a
raised portion on the top of the adapter. Using a dremel tool with router adapter, route out the underside of the hole to form a wide enough radius to
allow the adapter to sit flush. When inserting the PVC tubing thru the top of the hole to the adapter, you will also notice that the hole is not large
enough to fit the hose clamp. Using a dremel tool extend this hole towards one edge by another half inch. This extension will allow the larger hose clamp
to fit in the hole too. Secure the adapter to the underside of the wood using 2" long 1/4" bolts and washers.
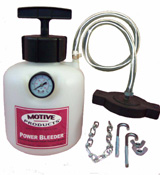
Motive Products
Universal Power Bleeder #0101 |
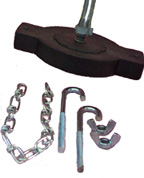
Motive Products
Round Universal Adapter #1101 |
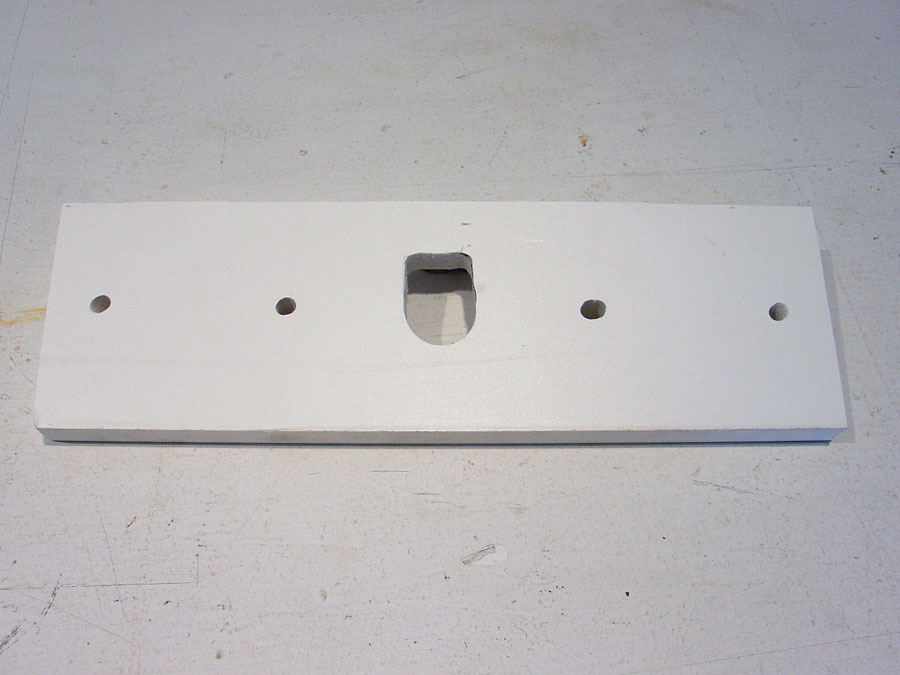
Custom adapter |
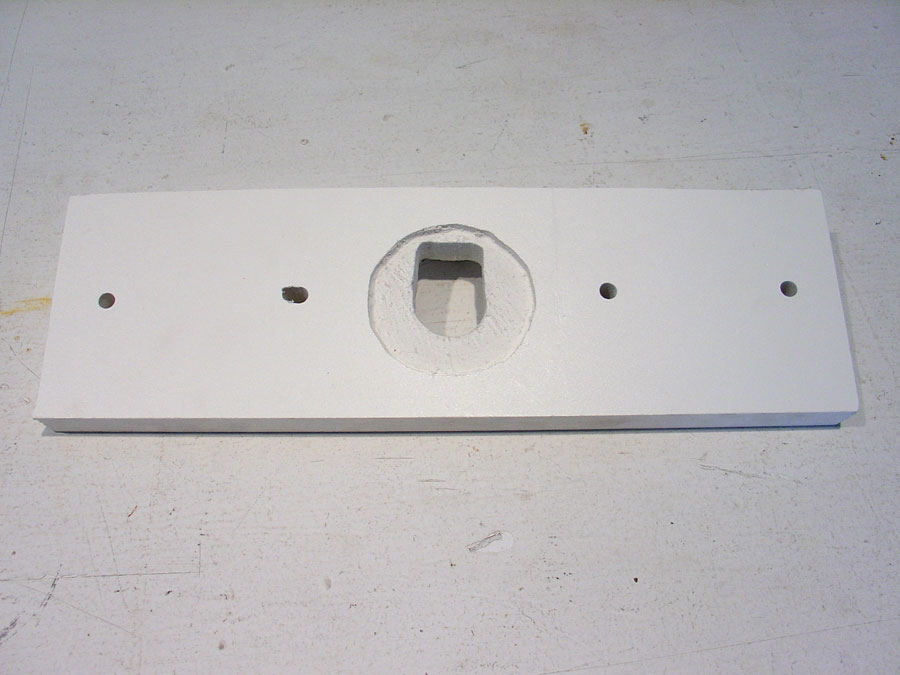
Notice the recessed portion
so the universal adapter
will sit flush |
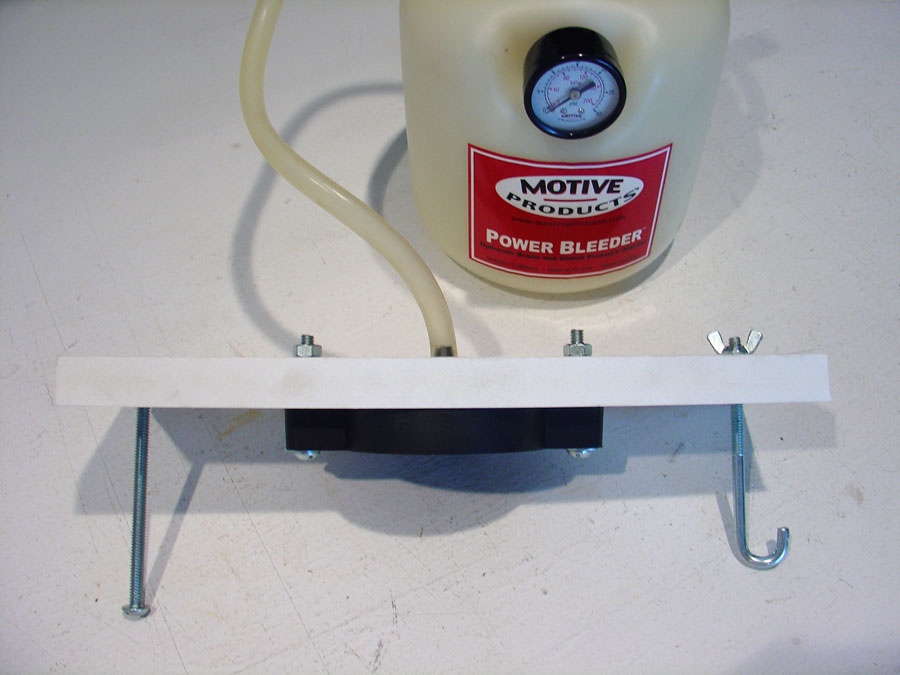
Universal adapter
mounted in place |
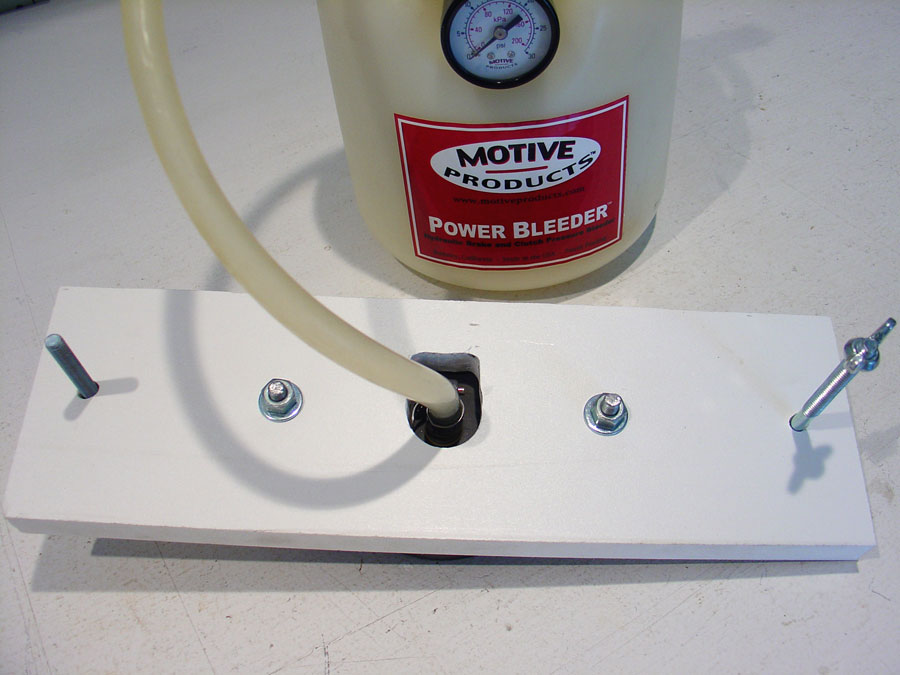
Extended center cutout
allows for hose clamp |
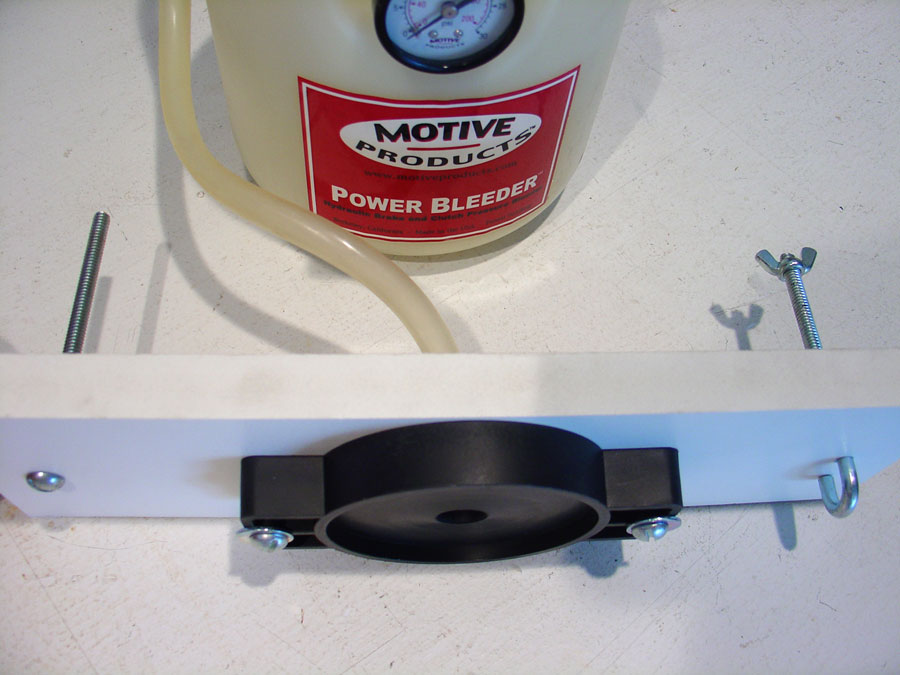
Universal adapter sits flush
to avoid warping and air leakage |
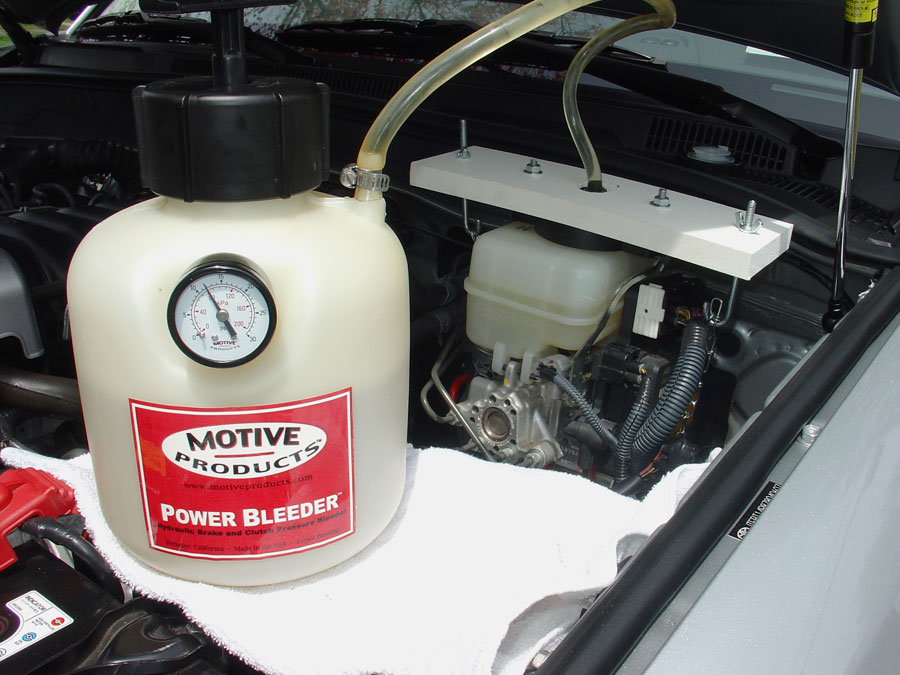
Motive power bleeder
connected to vehicle
using custom adapter |
Flushing Procedure:
Power flushing the brake system is very basic, allow about 90 minutes time for completion.
Thoroughly clean the brake fluid reservoir and cap (before opening it) to avoid contaminating the system with dirt.
Remove the reservoir cap and connect the universal adapter, which is now mounted to the custom made adapter, using a 2 foot long chain.
Ensure the chain goes under the master cylinder only and not underneath any wires or tubing. After tightening down the wing nuts pump the Motive power
bleeder to 15psi and check that it holds pressure.
First you want to remove as much old fluid from the master cylinder as possible. One way to do so is with the Motive unit empty and pressurized, open up
the bleeder valve on the brake at the wheel closest to the master cylinder (driver front) first and let the old fluid push out. At the first sign of
air bubbles, tighten down the bleeder valve so you do not introduce air into the system.
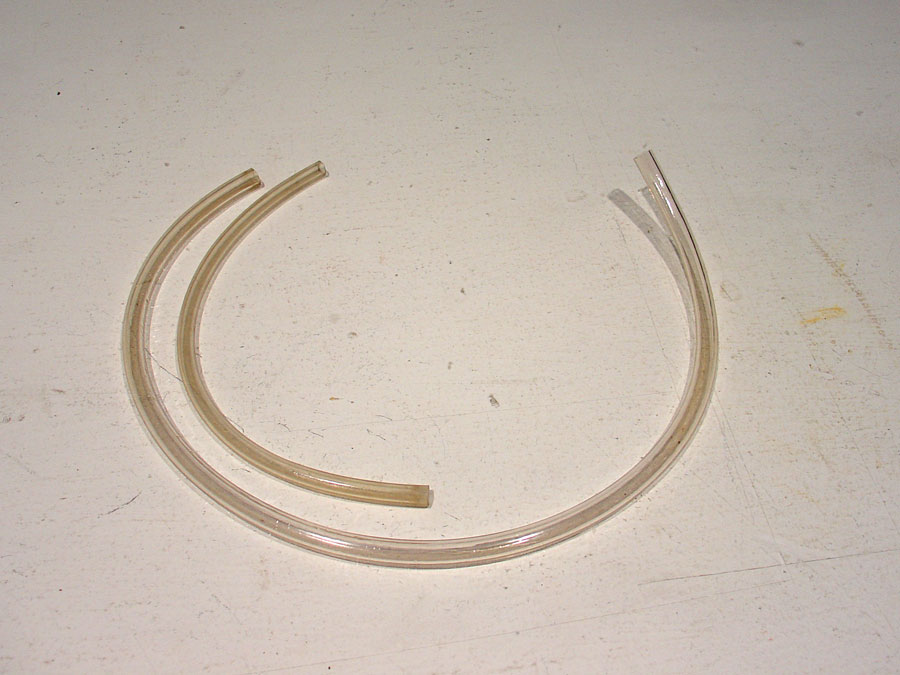
Tip:
use a longer piece of tubing
to make collecting the old fluid easier |
Release accumulated pressure in the power bleeder by gently unscrewing the power bleeders cap. Fill bleeder with new brake fluid. Brake fluid is
very corrosive so do not get it on your paint. The bleeder can handle being filled with up to 2 quarts (64oz.) of fluid.
For the 4th generation 4Runner, 2 quarts is about perfect. Put the screw cap back on the bleeder and tighten it down. Pump the handle on the cap until
the gauge reads 15psi.
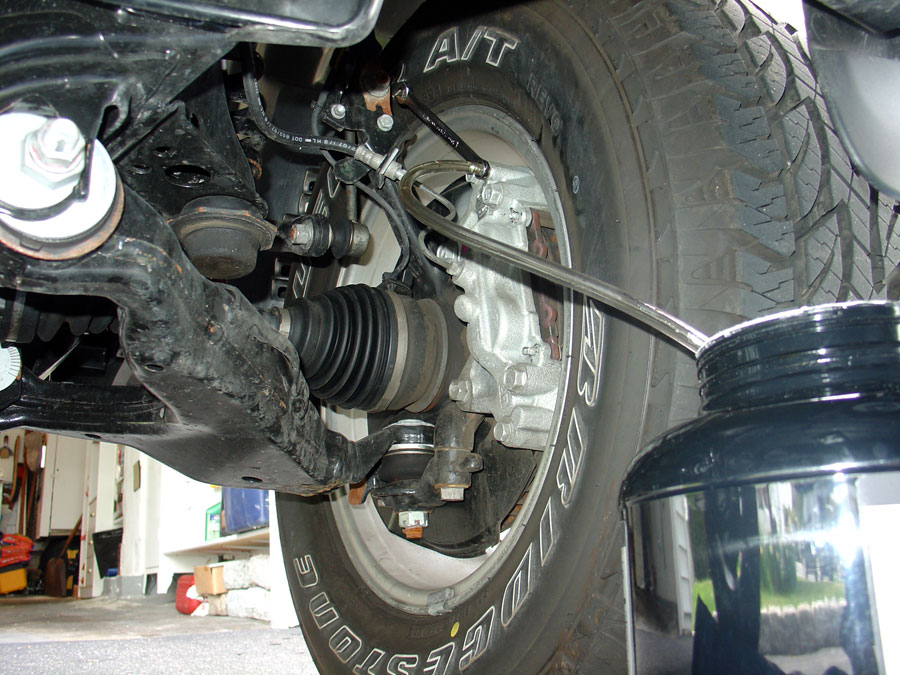
Slide under the vehicle and clean off the bleeder valve that is on the wheel furthest from the master cylinder, the passenger rear wheel.
Put a 10mm closed end wrench on the valve first. I prefer to use a closed end wrench to help avoid stripping.
Attach a 2ft long clear pvc hose to the bleeder valve and insert the end of it into a container you will use to collect the old fluid.
Only 1ft of hose comes with the power bleeder, I prefer two feet as it is much easier to work with. Then unscrew the bleeder valve about half a turn,
and the fluid will begin to comes out. When the new clean fluid starts to come out without any air bubbles, tighten the valve back down.
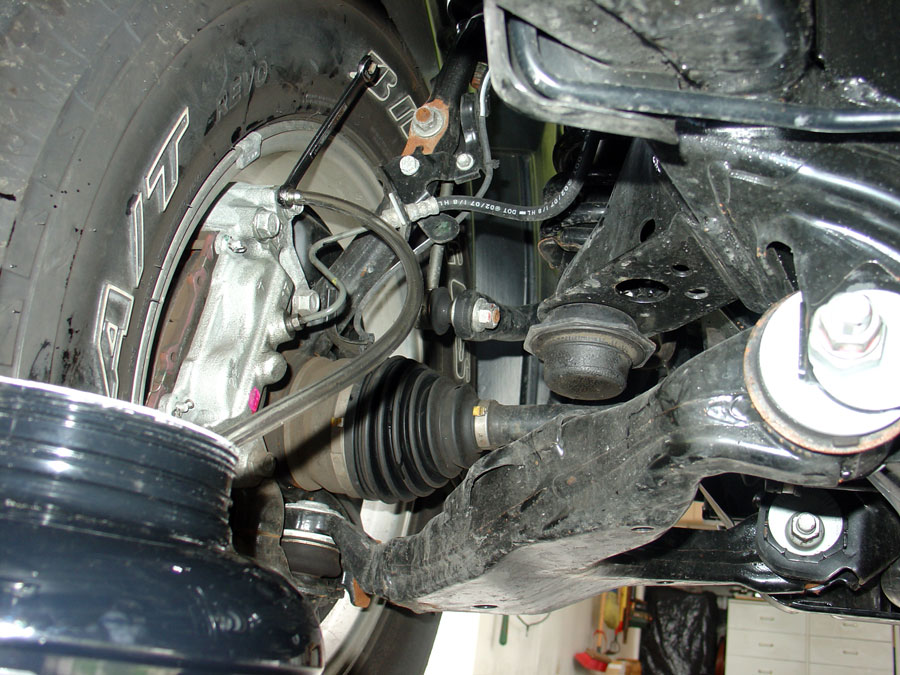
Repeate this procedure at the next 3 wheels in this order...driver side rear, passenger front, driver side front. After bleeding each corner
check the bleeder pressure gauge and give the bleeder a few more pumps to bring the pressure back upto 15psi as necessary.
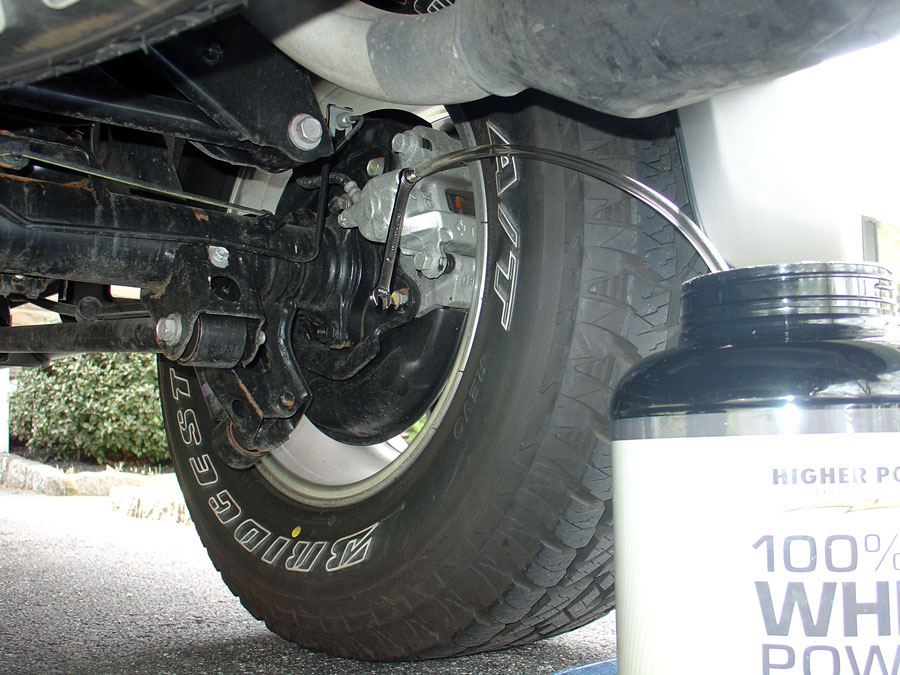
Passenger Rear |
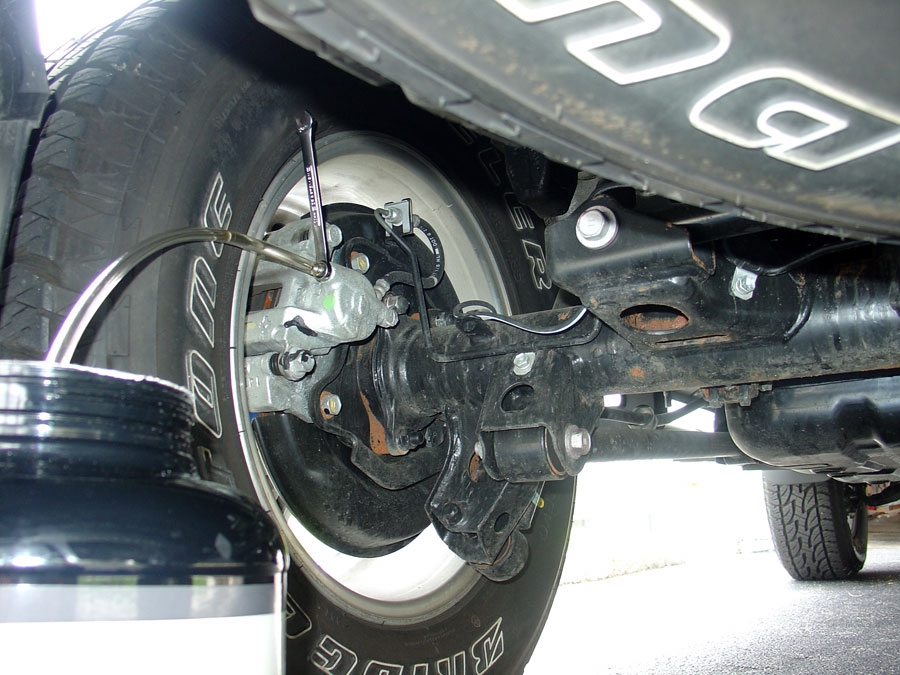
Driver Rear |
Passenger Front |
Driver Front |
If fluid remains in the Power Bleeder tank when through, tilt the tank away from fluid pick-up tube and release accumulated pressure in the power bleeder
by gently unscrewing the pump cap. Loosen the wing nuts and remove the bleeder reservoir cap. Ensure that the level of new brake fluid in the reservoir
is at the maximum mark. Put the Toyota factory reservoir cap back on. Test for proper brake operation and for leaks before driving.
|
|